Flower Portraits with Micro Four Thirds Lenses
Before I became a full time portrait photographer in 2009, I was a fine art botanical photographer. I’d won several industry awards for my flower, garden and plant photography. But selling artwork on that basis is rarely if ever profitable (unless you’re very famous and widely exhibited). So the flower photography was confined to the interior design work I was doing at the time. I still really enjoy it though, plants are so beautiful and architectural. But you have to catch them at just the right moment, and in the right conditions.
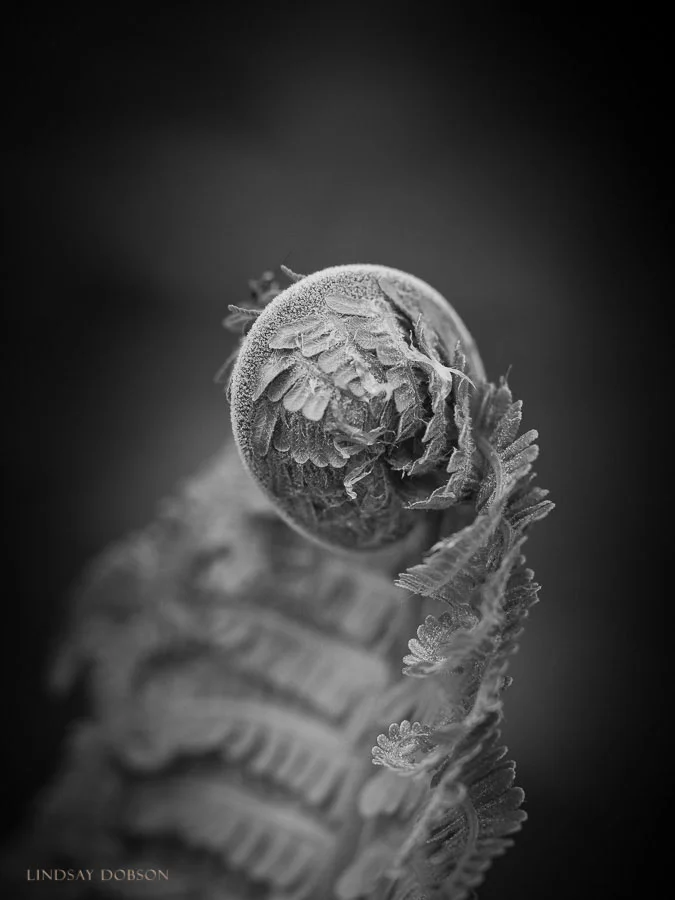
Before I say anything else, this isn’t a post about true macro photography and the many techniques (and equipment options) which go with it. Instead, I’m going to talk about an area of day-to-day photography which many of us enjoy, and the kind of lenses which I’ve found to be ideal. As many of you already know, I use Micro 4/3 equipment because, for me at least, the size/weight and performance equation suits me very well. What I’m saying here can just as easily be applied regardless of your equipment choices, but for close-up work a sensor smaller than full frame can have tangible benefits. Why? Because it gives us a little bit of extra depth of field at any given aperture. In broad terms this means we can shoot at a fairly wide aperture for good light gathering (and hence low ISO levels) without necessarily sacrificing depth of focus. For this reason compact cameras and bridge cameras are also good choices for any kind of photography where we need to get close to our subject.
Some lenses are better suited than others to close work. Obviously a dedicated macro lens is perfectly designed for high magnifications and my choice is the Olympus 60mm f2.8 macro. I will say that macro lenses aren’t always easy to use hand-held because higher magnifications are more susceptible to showing up any failings with technique. Depth of field at high magnifications can be minutely slim so if we’re not careful it’s easy to lose the plane of critical focus. Normally a tripod would be the perfect aid in these situations but for general flower photography when out and about this would be impractical. So for handheld close-up work we need to concentrate a little harder than we might for subjects which are further away from us. As with all forms of photography, practice is everything.
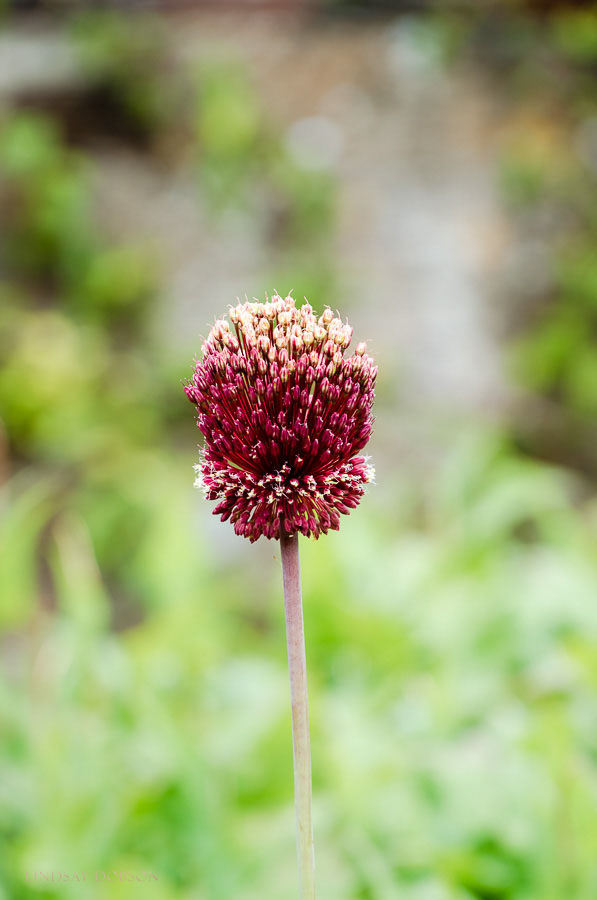
If you don’t possess a proper macro lens, there are plenty of lenses capable of focusing fairly close to the subject. With respect to my kit bag, good examples are the Olympus 12-40 f2.8 which is a really handy general use professional grade optic and it’s very sharp throughout its range. The 14-42II kit lens is also ideal for similar reasons – it’s impressively sharp for what it is (though obviously not quite as good at resolving detail as its professional counterparts). Lastly, the stellar Olympus 40-150 f2.8 is equipped with close-up capabilities making this a remarkably versatile lens. Bear in mind that at longer focal lengths your photographs can appear different to those taken at short focal lengths (assuming similar relative subject framing). For the purpose of the outing described in this article, I was using the 60mm macro and the 12-40 zoom.
Garden Photography Tips
At this time of year in the UK gardens are normally in full bloom. Not my garden unfortunately, because most of my flowers (and all of those arising from bulbs) have been happily devoured by the squirrels. For that reason I tend to enjoy flower photography when I’m out and about visiting someone else’s garden or a well-stocked park. The advantage of photographing flowers at home however is that we can stage our scene according to our tastes, using reflectors and flags and generally having more control over the final image. But we can still take some nice enough shots on a casual outing, which is what most of us will be doing.
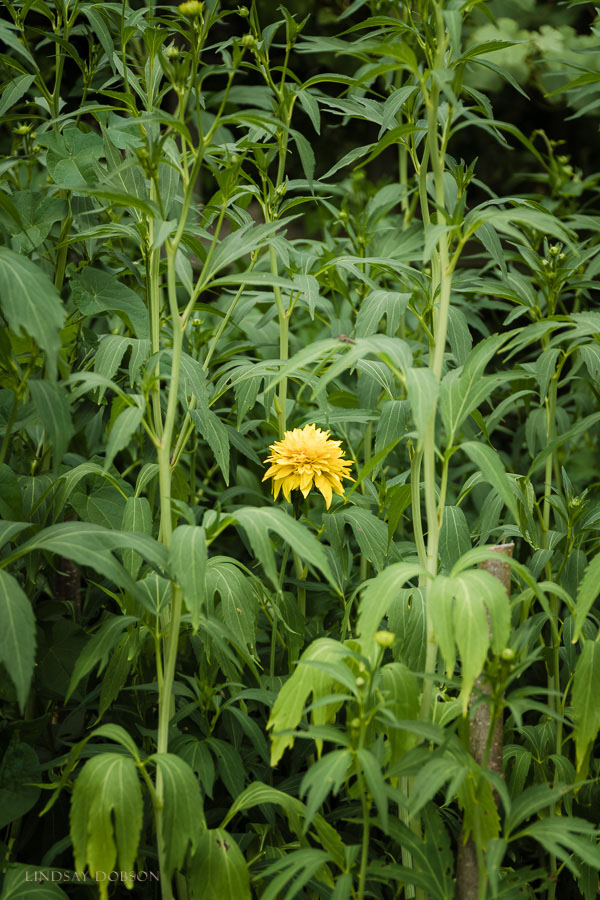
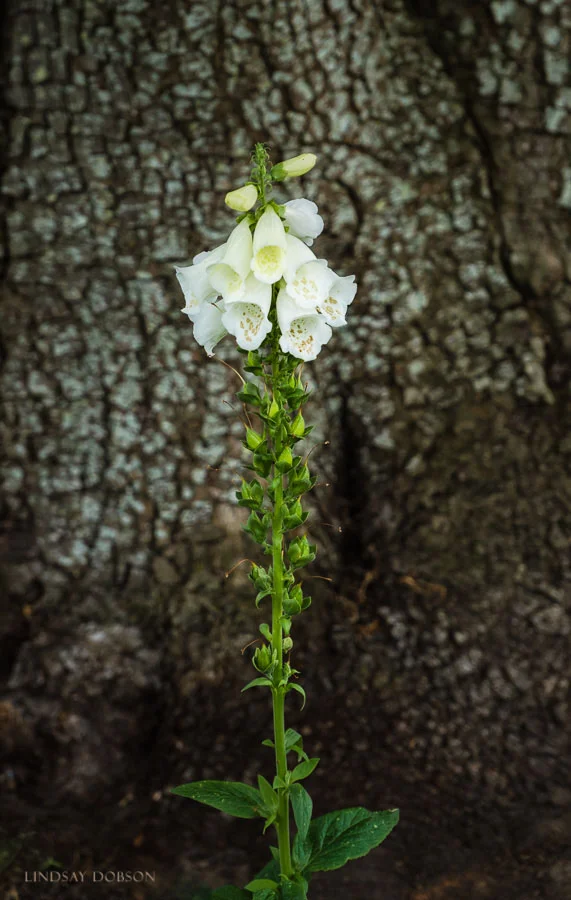
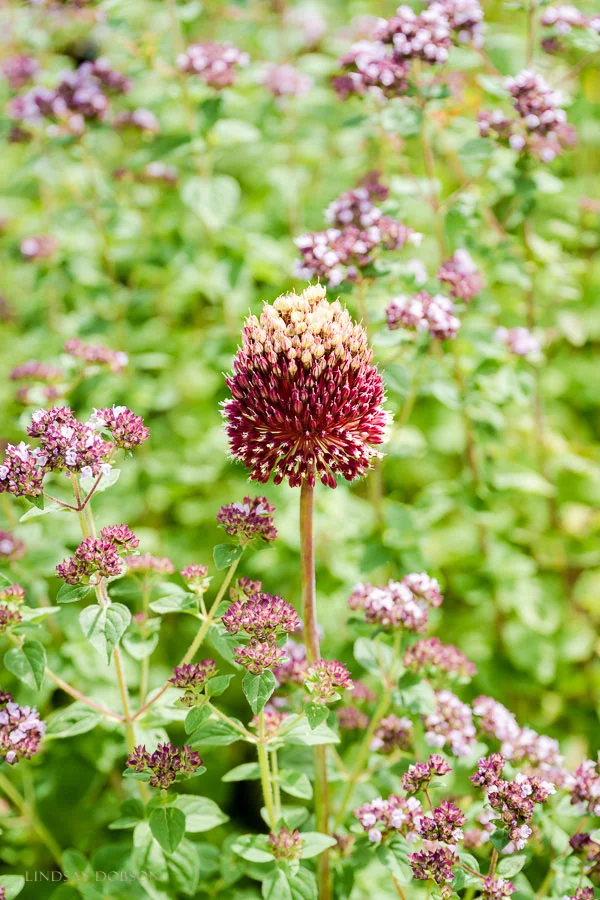
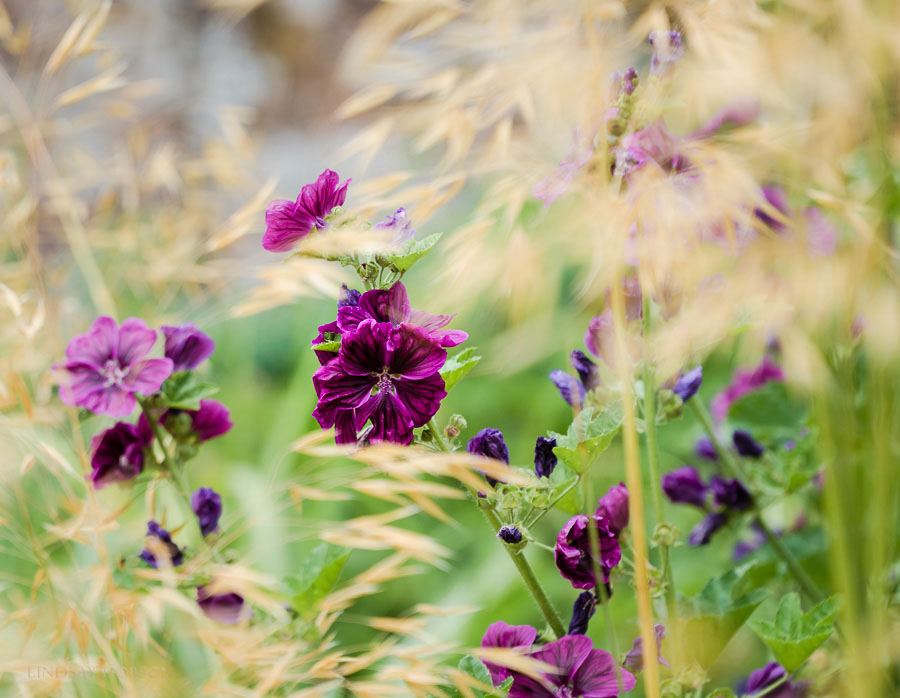
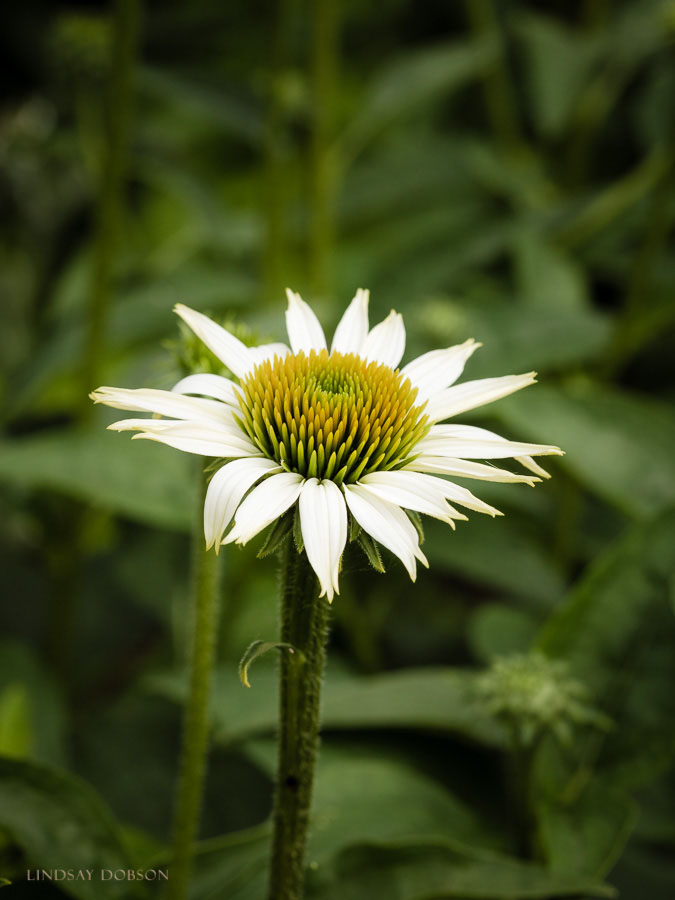
Flower photography is a good way to practice composition, most notably subject placement and colour relationships. Obviously shape plays a big part as well. When we photograph flowers in this way we can’t start messing around with someone else’s vegetation, so it’s a question of learning to move ourselves until the composition is pleasing. Just moving our vantage point back and forth can show us where the most interesting light can be had, and how we can you use the colours and shapes of other flowers around or behind our main subject as complimentary patterns or features. Learn to do this – try not to randomly point your camera is a nice looking bloom without considering how to show it at its best. Experiment with different vantage points – every flower type is unique and some will look better from certain angles. If there’s dense foliage behind the flower we can utilise light falloff to help the background go dark. Depending on the time of day we can backlight the flowers – this works particularly well if the flowers have thin or diaphanous petals.
On this particular outing I was in the garden over lunchtime – not ideal given the glaring but flat light. Don’t let that stop you from taking pictures though, because by capturing photographs in various conditions we quickly learn which conditions work best for which subjects.
If you’re in West Sussex we have some good locations for this kind of thing: Borde Hill Gardens and Parham House and Gardens. Both of those outings involved bright sunny skies and consequently very contrasty lighting – note the difference between that and the light I encountered here. The same subject can look completely different from day-to-day, and from season to season for this reason.